Step 3
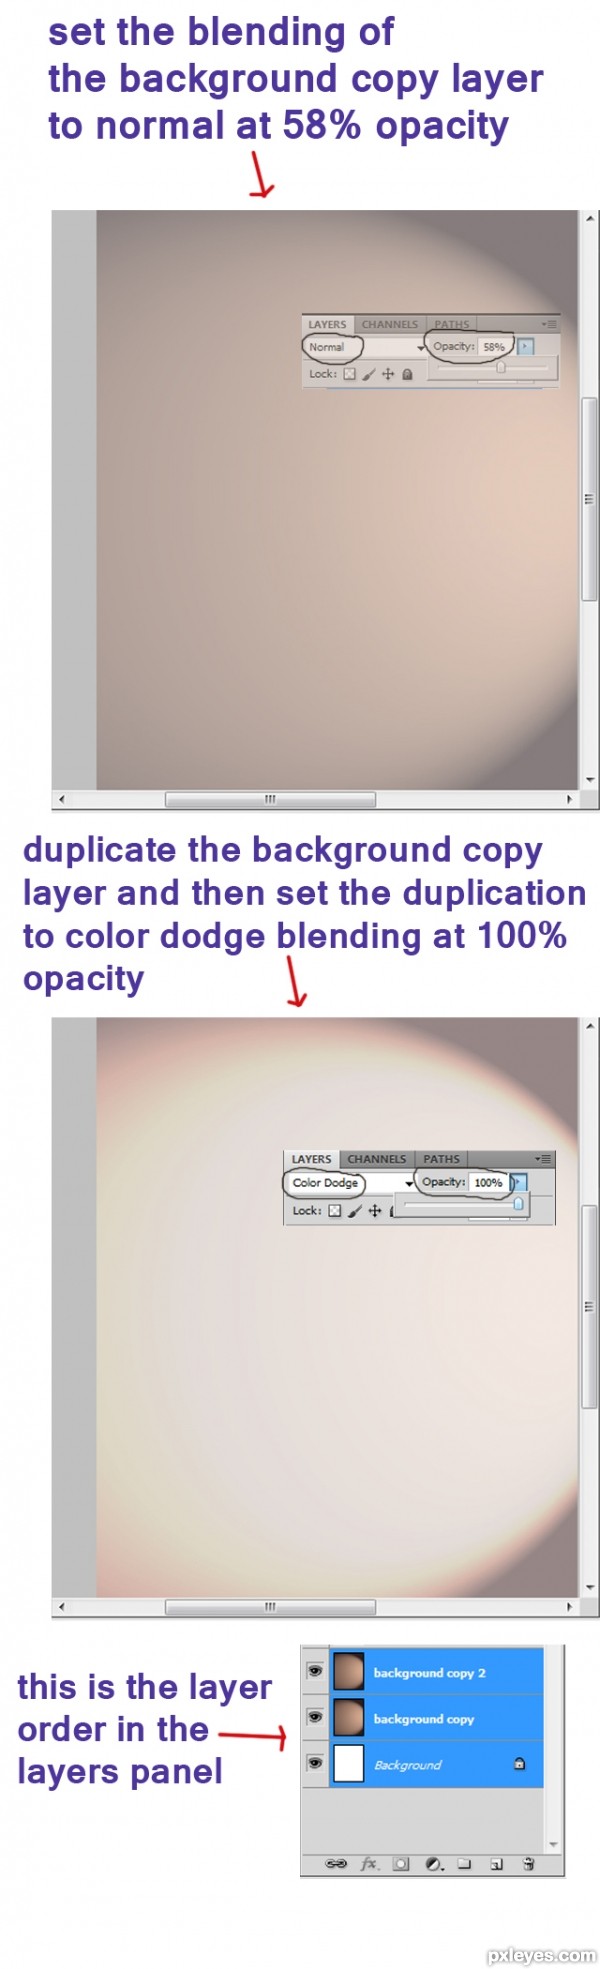
Next , set the blending of the background copy layer to normal at 58% opacity after that duplicate it (Ctrl+J). Now we have background copy 2 layer. Set the blending of the background copy 2 layer to color dodge at 100% opacity.
接下来,在复制一层(Ctrl+J)并保证这一图层(背景 副本)的混合选项为正常,不透明度调为58% 。现在我们有两个背景图层的复制图层。再调节背景副本2图层的混合模式为颜色减淡,不透明度为100%
Step 4
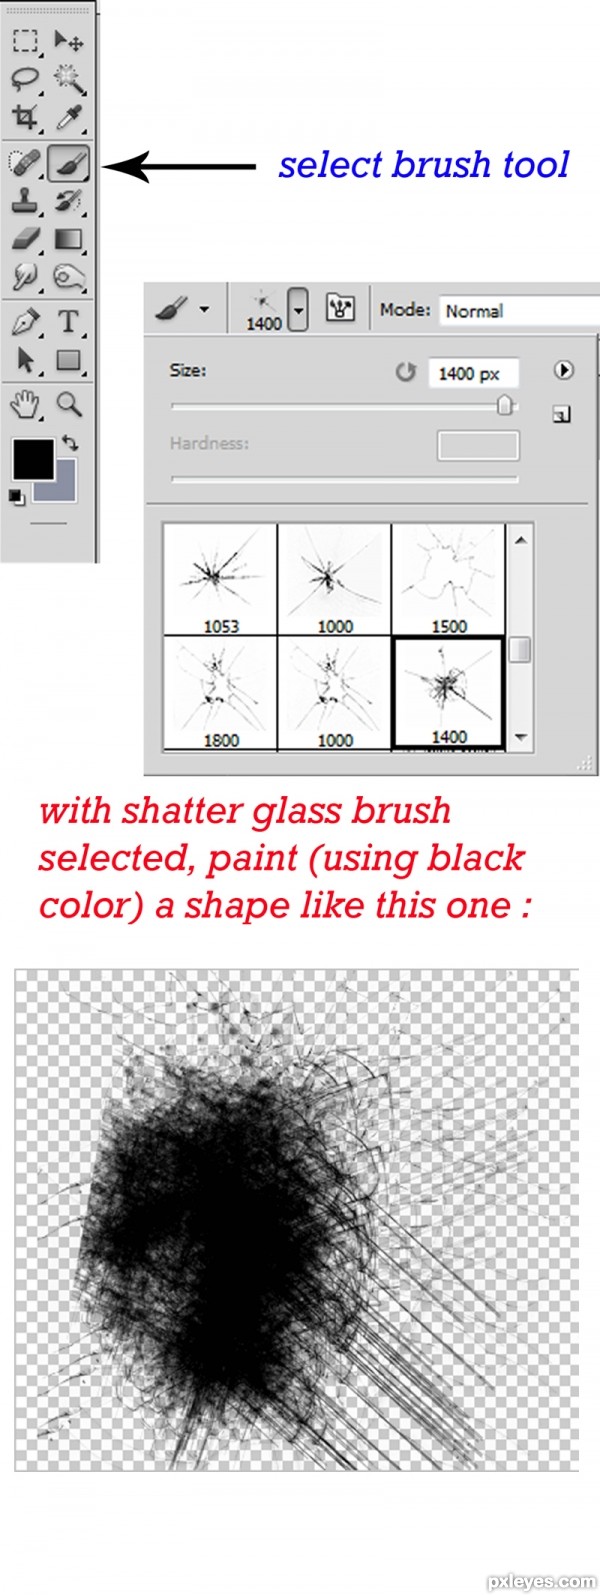
Continue to create a new layer (Shift+Ctrl+N) and name the new layer shape 1. Then, go to Brush tool (B) in tools palette. Choose shatter glass brush and paint a shape like mine. ( See the picture below ).
然后新建新图层(Shift+Ctrl+N),“我”给这一图层取名为shape 1。现在在工具面板中选择笔刷工具(B)。选择shatter glass笔刷并刷出像我做出的那种图案。
Step 5
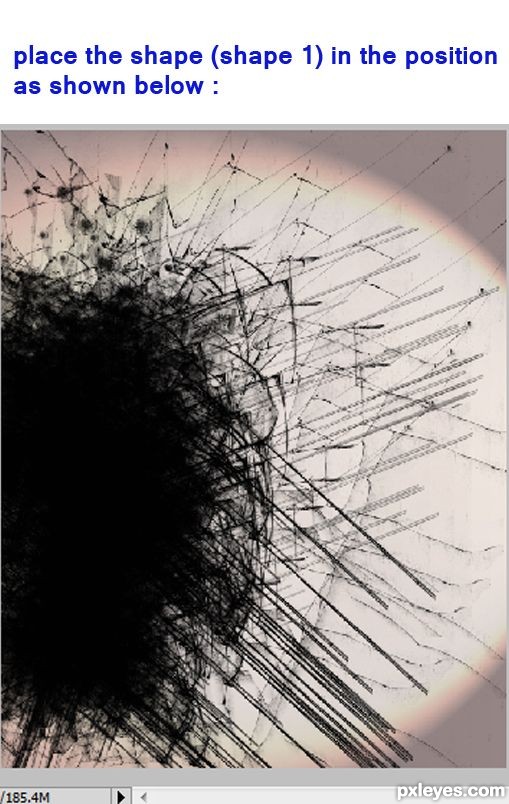
Arrange the position of the shape 1 as shown in picture below:
将shape 1的位置移到图中所示位置
(责任编辑:PS家园网)