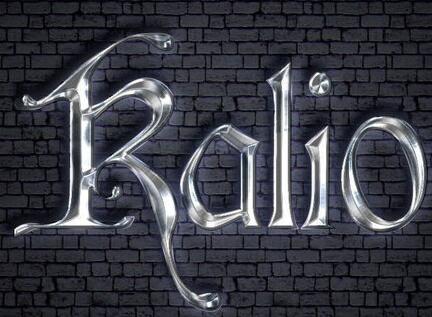
PS制作质感的金属立体字
- 2021-05-21 21:07:58
- 来源/作者:互联网/佚名
- 己被围观次
本教程主要使用Photoshop制作质感的金属立体字。下面一起来学习吧。
Step 3
Create some text using an extra bold font in grey color #999999, similar to the ones that are usually used in this kind of motor badges. I have chosen TS Block. Reduce the size of the X as shown and increase the baseline shift in order to join some edges of these 3 letters and give more realism to the fake industrial design. So type “4” with TS Block font and apply some character parameters (see image). Type “x” and edit it (see image) and then Copy-Paste the first “4” (press Command/Ctrl + C + Command/Ctrl + V) to get “4×4” text.
创建文字图层,作者采用的字体为「TS Block」,色值为#999999。具体参数见图,其中字母X的基线位置向上偏移了10像素。

Step 4
Add a layer style with a 3 pixels Outside Stroke and color #666666.
添加图层样式,外描边,3像素,色值为#666666。

Step 5
We will separate the stroke style in a new independent layer. To do so we click the mouse’s right button on the “fx” icon of the layer and then choose the option “Create Layer”.
在图层样式上右键并选择「创建图层」,以将描边样式分离成一个新图层。

Step 6
Now we have a new layer -with the name of the style we use- and we will add new layer styles to this layer to simulate the badge’s bevel. But first let’s define the style of the front text.
这样我们就得到了两个图层,一个是文字图层,一个是样式图层。我们先对文字图层进行处理。

Step 7
With some values inside the layer styles window we will create the front of the badge. The layer that will work as a pseudo 3D bevel can be seen behind.
对文字图层添加以下图层样式。

(责任编辑:极限)
*PSjia.COM 倾力出品,转载请注明来自PS家园网(www.psjia.com)
上一篇:PS制作金属质感文字效果
下一篇:PS制作梦幻的蓝色浮雕字教程


